Skip to product information


£95.00
Gain a complete understanding of how to grow 40 of Charles's favourite vegetables.
With my guidance, you’ll feel confident to grow a variety of vegetables from seed.
The course comprises 34 growing guides, each one covering every aspect of growing for the vegetable or vegetables within the guide.
You’ll learn about varieties, spacing and watering, and particular pests to be aware of. You’ll find out whether each vegetable is suitable to grow in the shade, whether to pot on, when to transplant, and what to follow with.
I’ll also talk you through how different seasons and the weather impact your crops. And because you’ll have lifelong access, you’ll be able to come back at any time and refresh your knowledge on any area covered.

Course information
- 34 guides
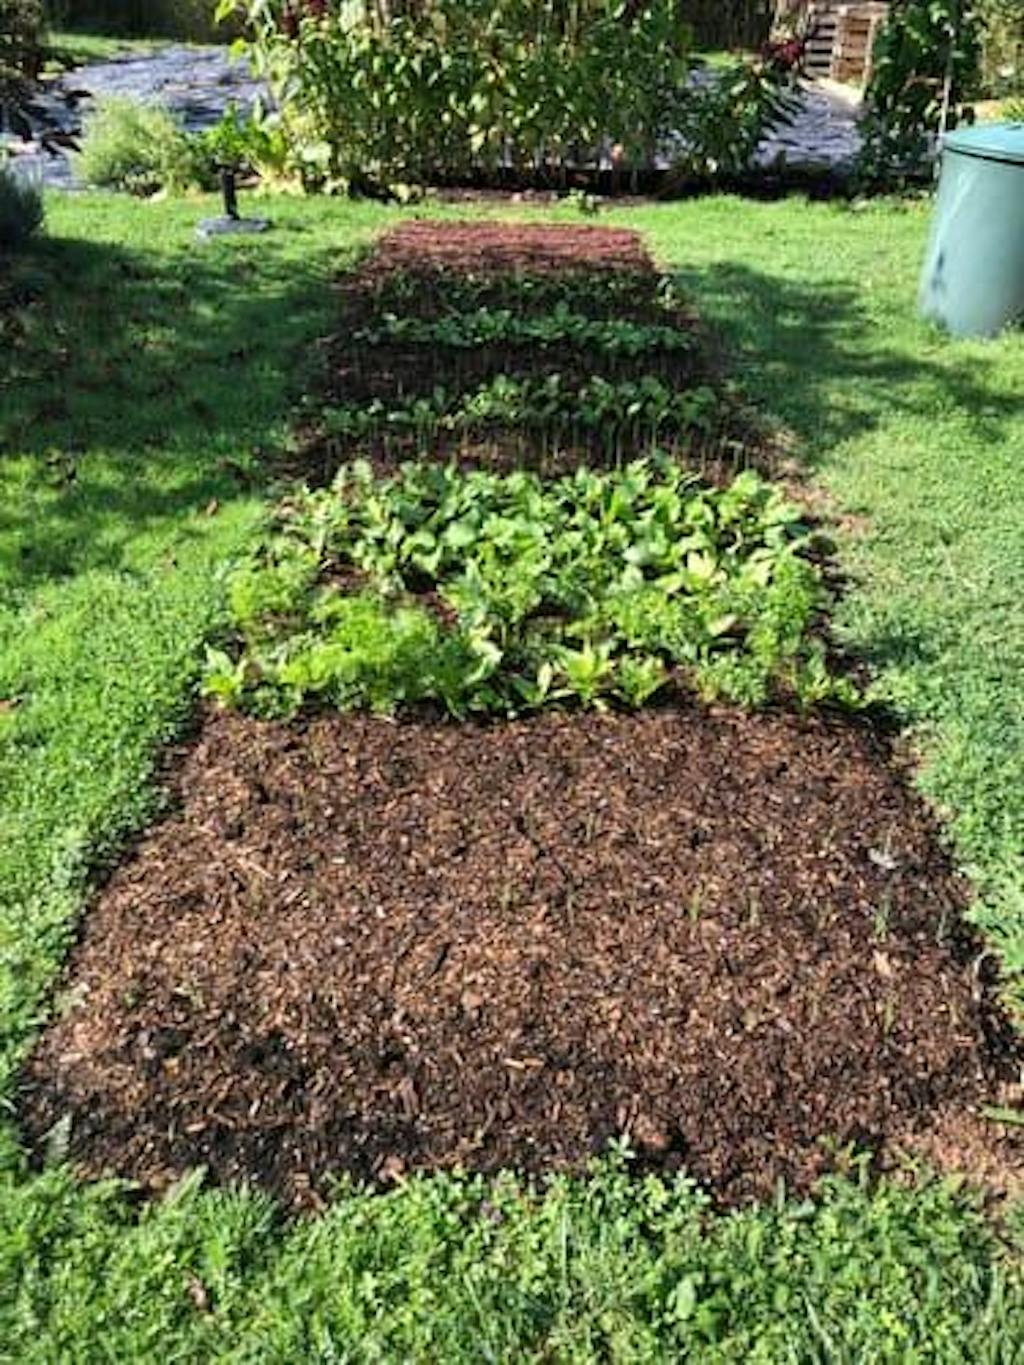
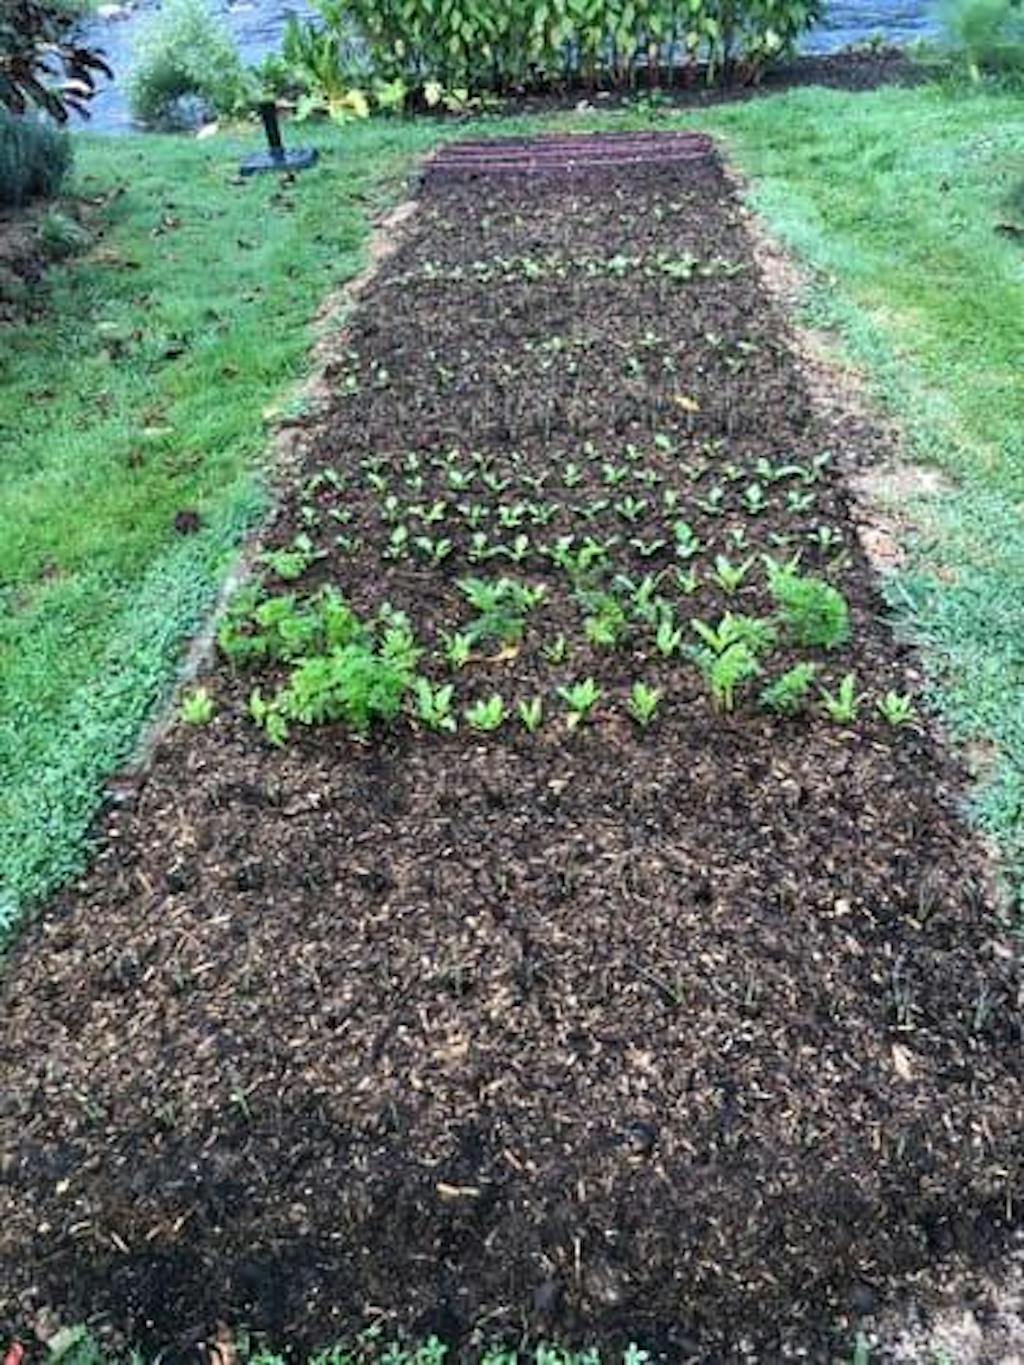
- Captioned photos throughout
- Exclusive videos
- Quizzes to consolidate learning
- Downloadable certificate on completion
- Lifetime access
*Please note:
Each Growing Guide is available to purchase individually.
The two previous From Seed to Harvest courses (A-C and F-T) were merged into one complete course. If you’ve previously purchased A-C, we will enrol you on F-T for free. Please email Anna, anna@charlesdowding.co.uk.
Offers and discounts
-
Bundle of three full-length courses + free digital Sowing Calendar - £190 (full price £285)
- 60% off any online course for students in full-time education
Please contact Anna, anna@charlesdowding.co.uk, for discount requests/further info.
For information on all the online courses we offer, please see this page.
Gift vouchers are also available.
Course content
- Introduction
- 34 guides
- Aubergine/Eggplant/Brinjal
- Beans, Broad/Fava
- Beans – French & Runner
- Beetroot
- Broccoli
- Brussels sprouts
- Cabbage
- Capiscums
- Carrot
- Cauliflower & Kohlrabi
- Celery & Celeriac
- Chard & Leaf Beet
- Chicory/Radicchio
- Chinese/Napa Cabbage & Oriental Leaves
- Courgette/Zucchini, including Summer Squash
- Cucumber – Cordon & Ridge
- Endive
- Florence Fennel
- Garlic
- Kale
- Leeks
- Lettuce
- Melon
- Onion & Salad Onion
- Parsnip
- Peas
- Potatoes
- Radish
- Salads for Winter
- Spinach
- Squash for Winter
- Swede/Rutabaga & Turnip
- Sweetcorn
- Tomatoes
Each guide follows the same outline structure:
- Introduction to vegetable
- Harvest period
- Why grow them
- Suitable for containers/shade?
- Conditions for success
- Varieties
- Sow and propagate
- Sowing conditions
- Sowing time
- Pot on?
- Transplant, size, time of year
- Spacing
- Support
- Water – how often, how much, extra mulch to retain water?
- Container growing
- Feed
- Prune and train plants/thin fruit
- Harvest time and method
- Potential problems – which pests are likely, disease, and other likely difficulties
- Clearing
- Follow with